The Breads of Egypt: Barley bread - عيش الشعير
Barley is one of the oldest grains in the history of humanity. Remains of barley and wheat have been found by archaeologists in Egypt dating back to more than 7000 years. Barley was seen as such an important crop in Ancient Egypt that it was actually used in the Hieroglyphic writing system. Barley is also grown in so many different parts of the world, which means it can have different properties depending on where your barley comes from. Although the majority of barley grown in the world is used either for beer production or animal feed, barley has a long history of being used in baking. One of its uses in Egypt is to make a pocket-style bread simply called eish el she’eer (عيش الشعير) which literally means barley bread.
This recipe presented a challenge in terms of replicating good results in a home setting. When I asked my nearest baker who makes this bread about the ingredients, he said it’s 80% barley flour and 20% wheat flour. Given my familiarity with bread baking, that sounded like enough information for me to figure out the rest on my own. However, barley is very different from wheat because there’s no gluten to develop. So the more barley flour used in a dough, the less kneading is required. That in turn means a weaker dough that doesn’t hold together when baked into a pocket-style loaf and the results ended up rather crumbly when I tried making sandwiches with them.
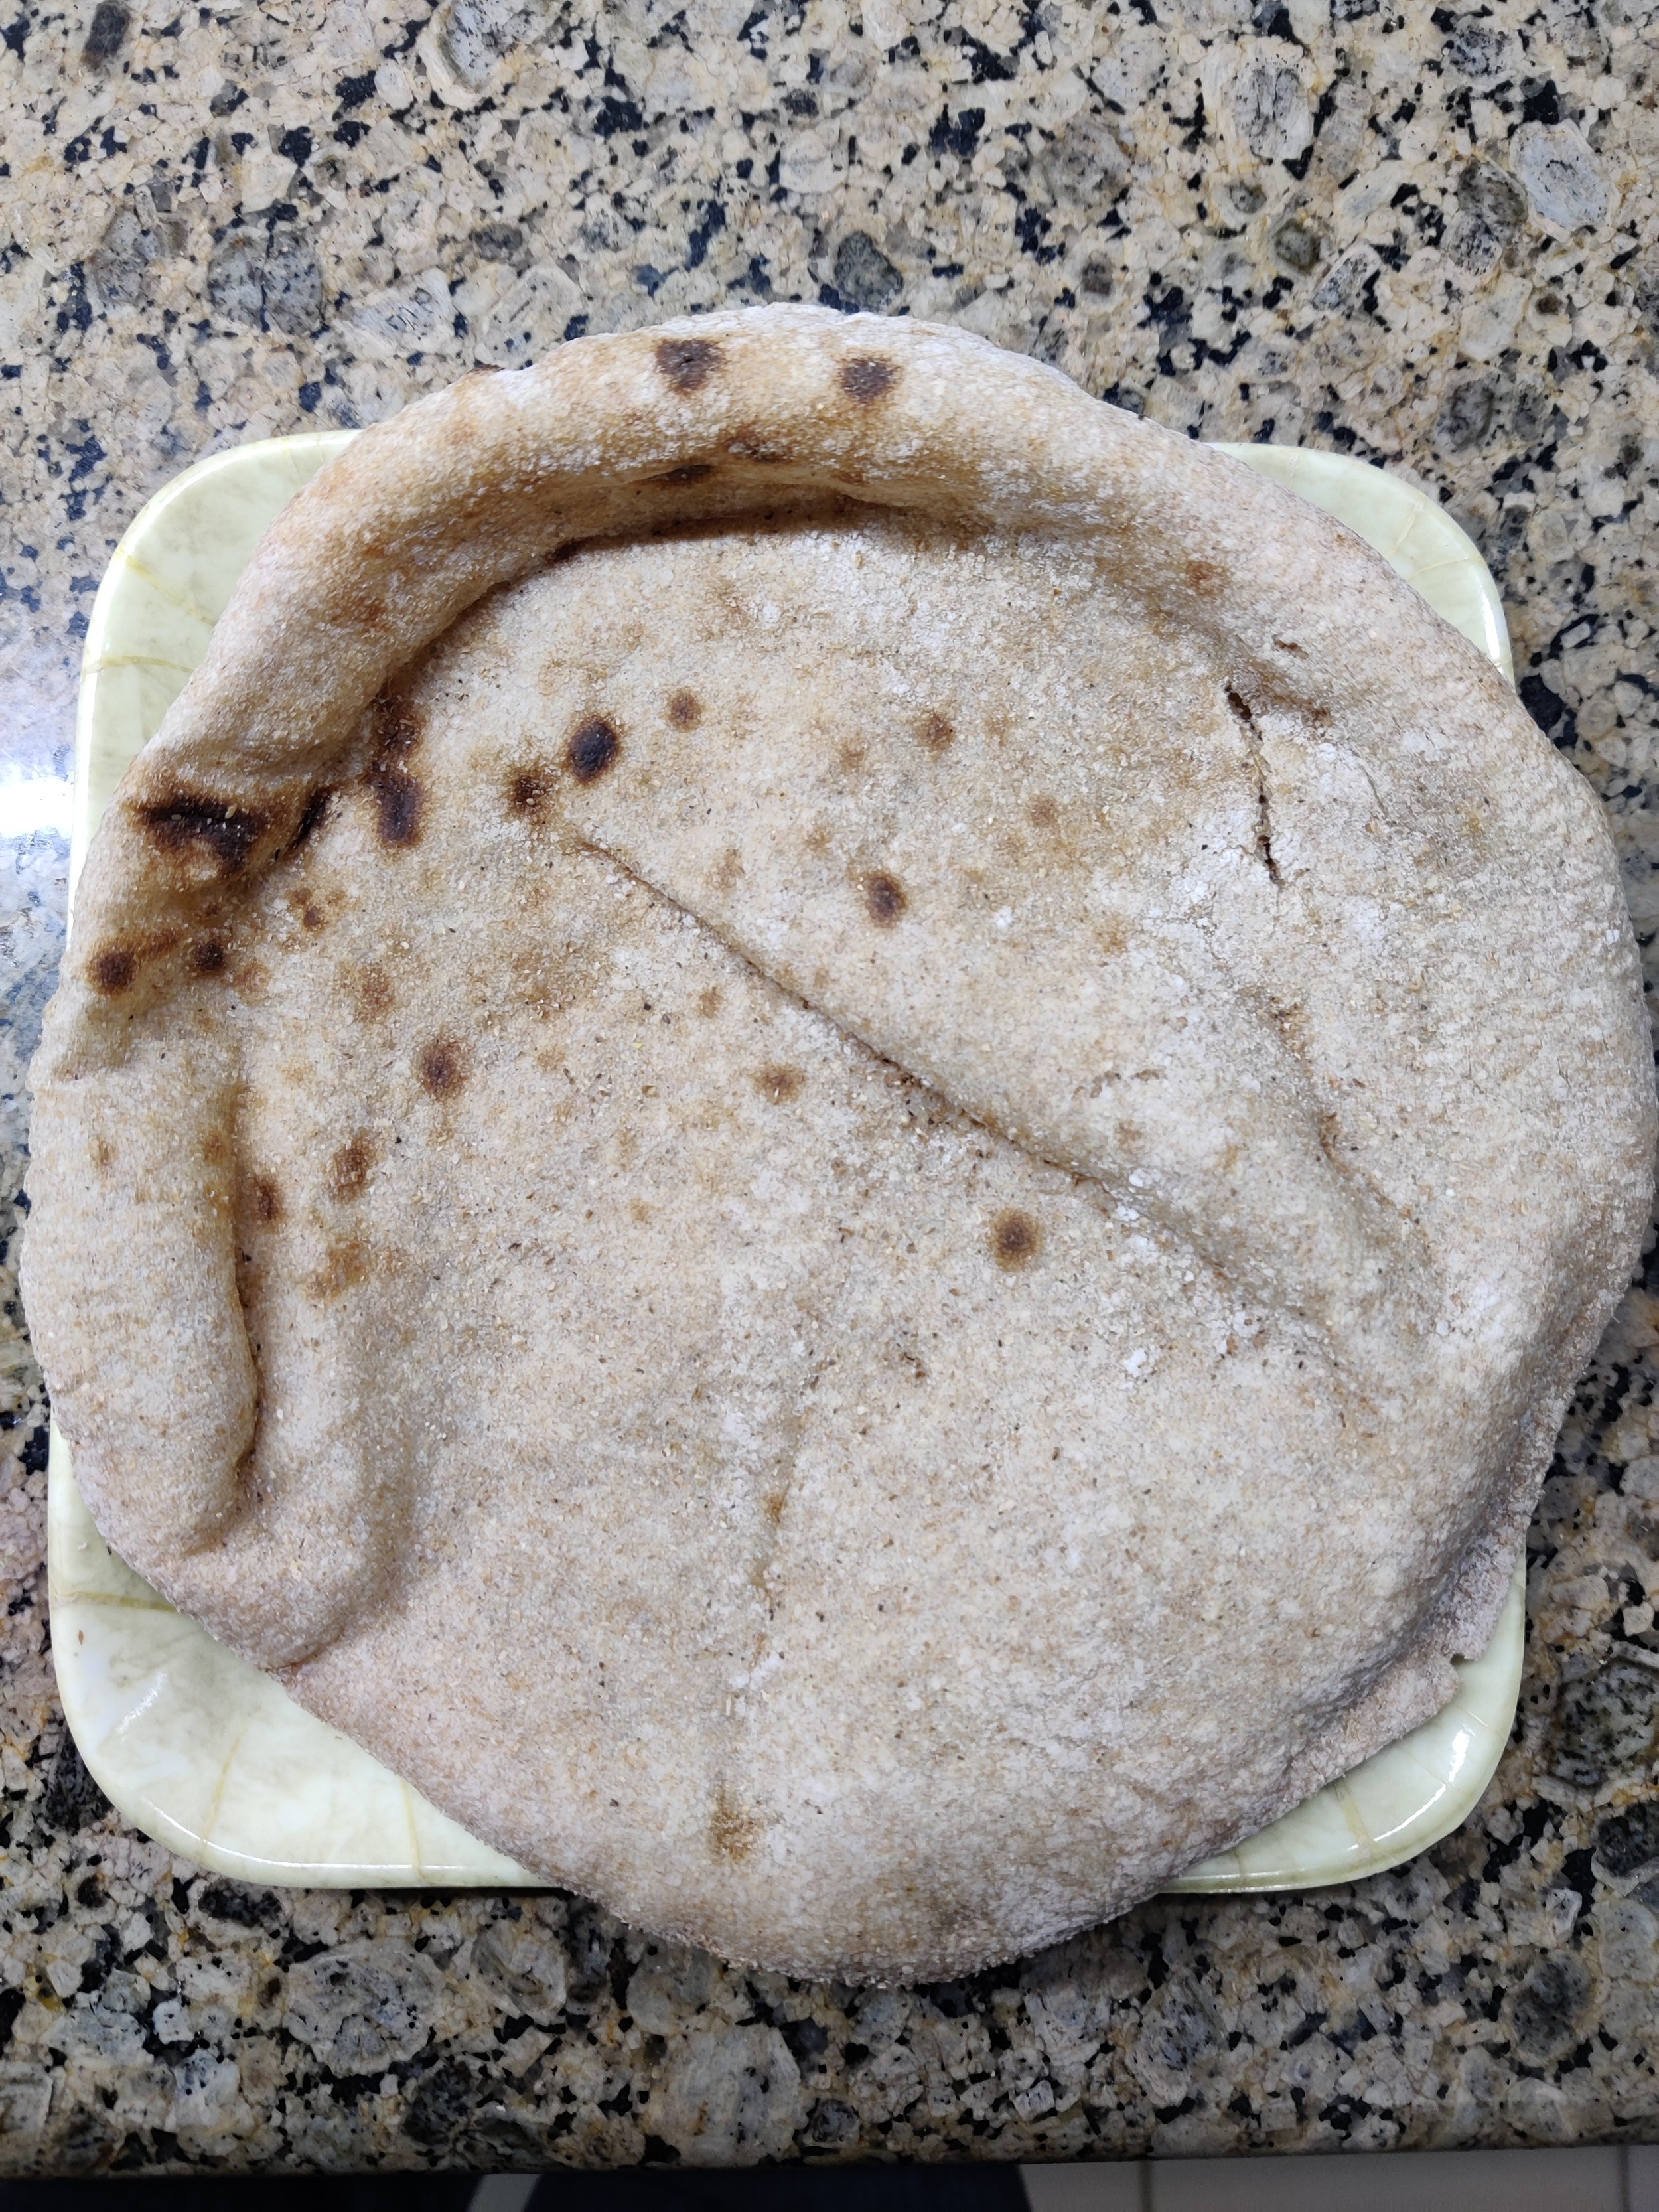
Barley bread sample from a bakery near my parents’ house
I started wondering if this ratio is actually possible, or maybe if I misheard the young man and he actually said the opposite (only 20% barley). However, two factors can actually help a bakery achieve good results with such a ratio. Firstly, a professional bakery has a better oven than any home oven. Professional bakery ovens can reach higher temperatures and have better heat distribution. Secondly, experience and technique can make the professionals handle a far wetter and more difficult dough much better than a home baker. Given that this project aims to document the variety of Egyptian bread, I decided that my recipe can give this bread its place amongst the breads of Egypt while aiming for as much barley flour as possible considering the limitations of home ovens and required skill and experience.
After testing several different ratios of barley flour to wheat flour, I found that equals parts of both flours gave the dough enough of the characteristics needed to rise and puff up in the oven while also having enough of the barley flour coming through. I also decided to pre-ferment the barley flour to evoke more flavour and acidify the dough, which strengthens the dough and improves its keeping quality. As for the baking phase, best results were achieved at my oven’s highest temperature (around 280 °C). The higher the baking temperature is, the faster the singular air pocket will form, which becomes more critical with a high portion of gluten-free barley bread dough.
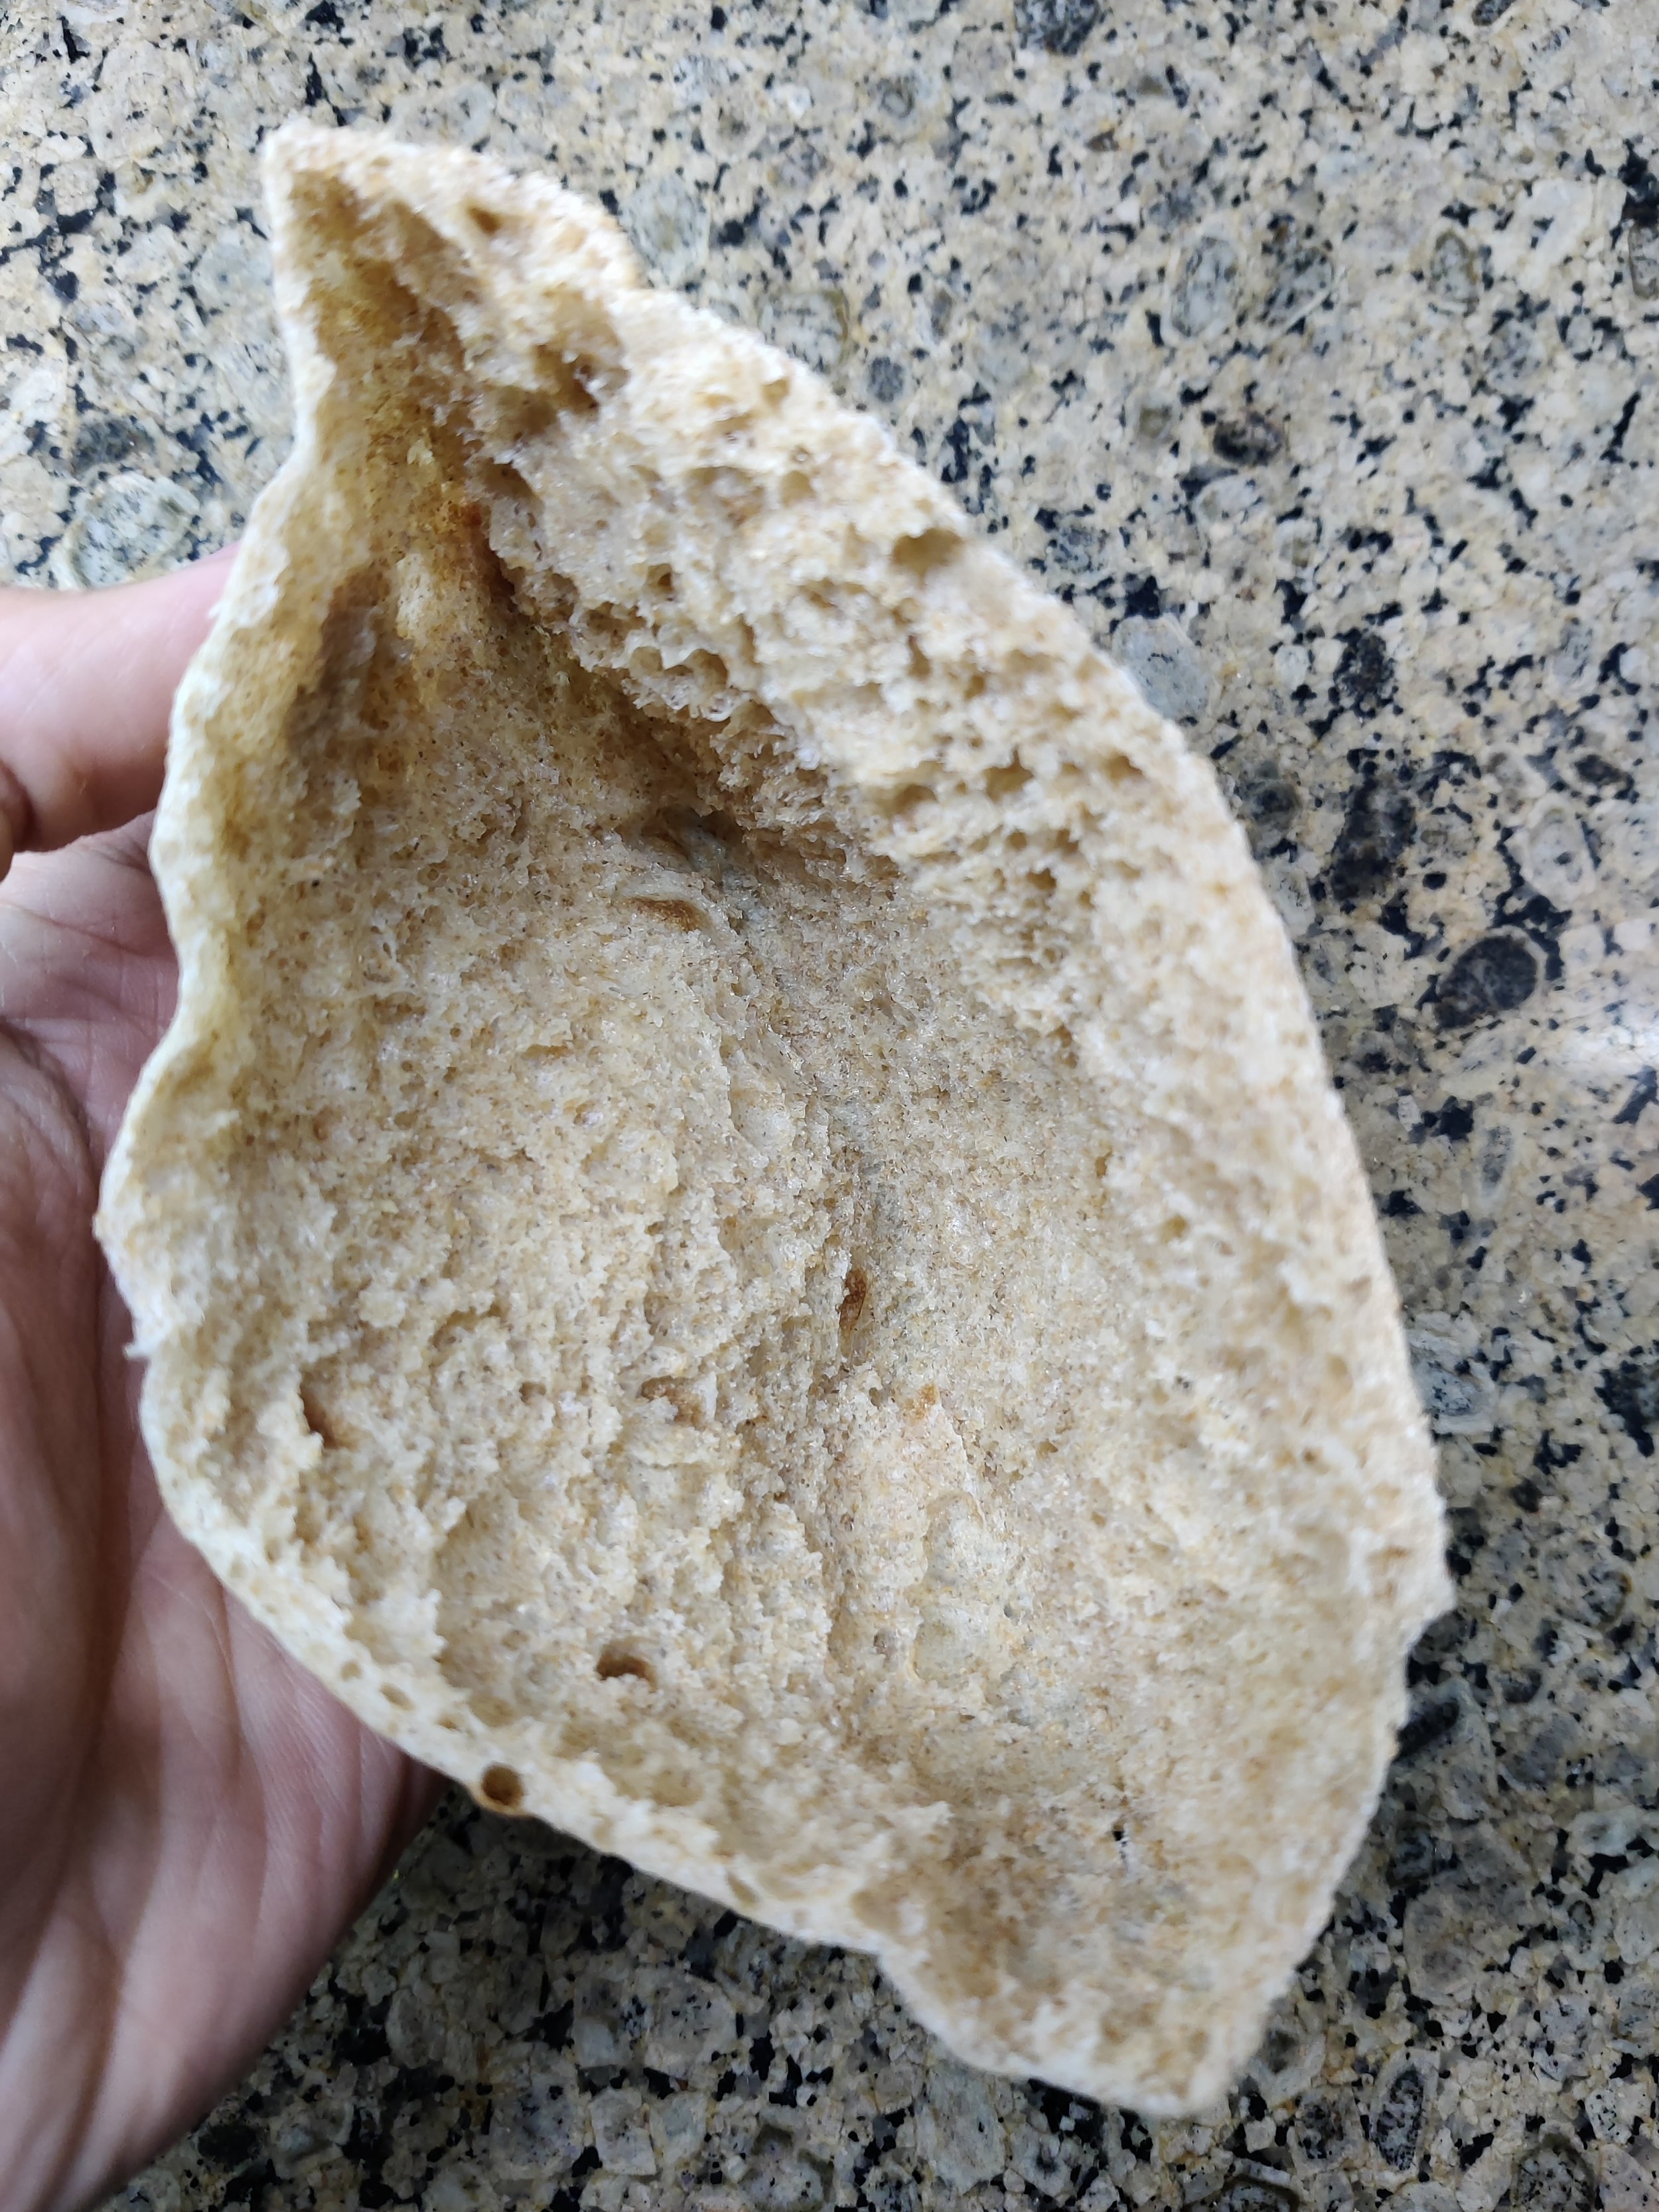
Fully opened pocket
Estimated time:
Pre-ferment: 12-16 hours
Mixing and kneading: 10 minutes
Rising: 1 hour, 30 minutes + 10-15 minutes
Baking: 10 minutes
Ingredients:
250 grams barley flour
250 grams all-purpose flour
350 grams water
2 teaspoons (10 grams) sugar
2 teaspoons (10 grams) salt
1 teaspoon yeast
Steps:
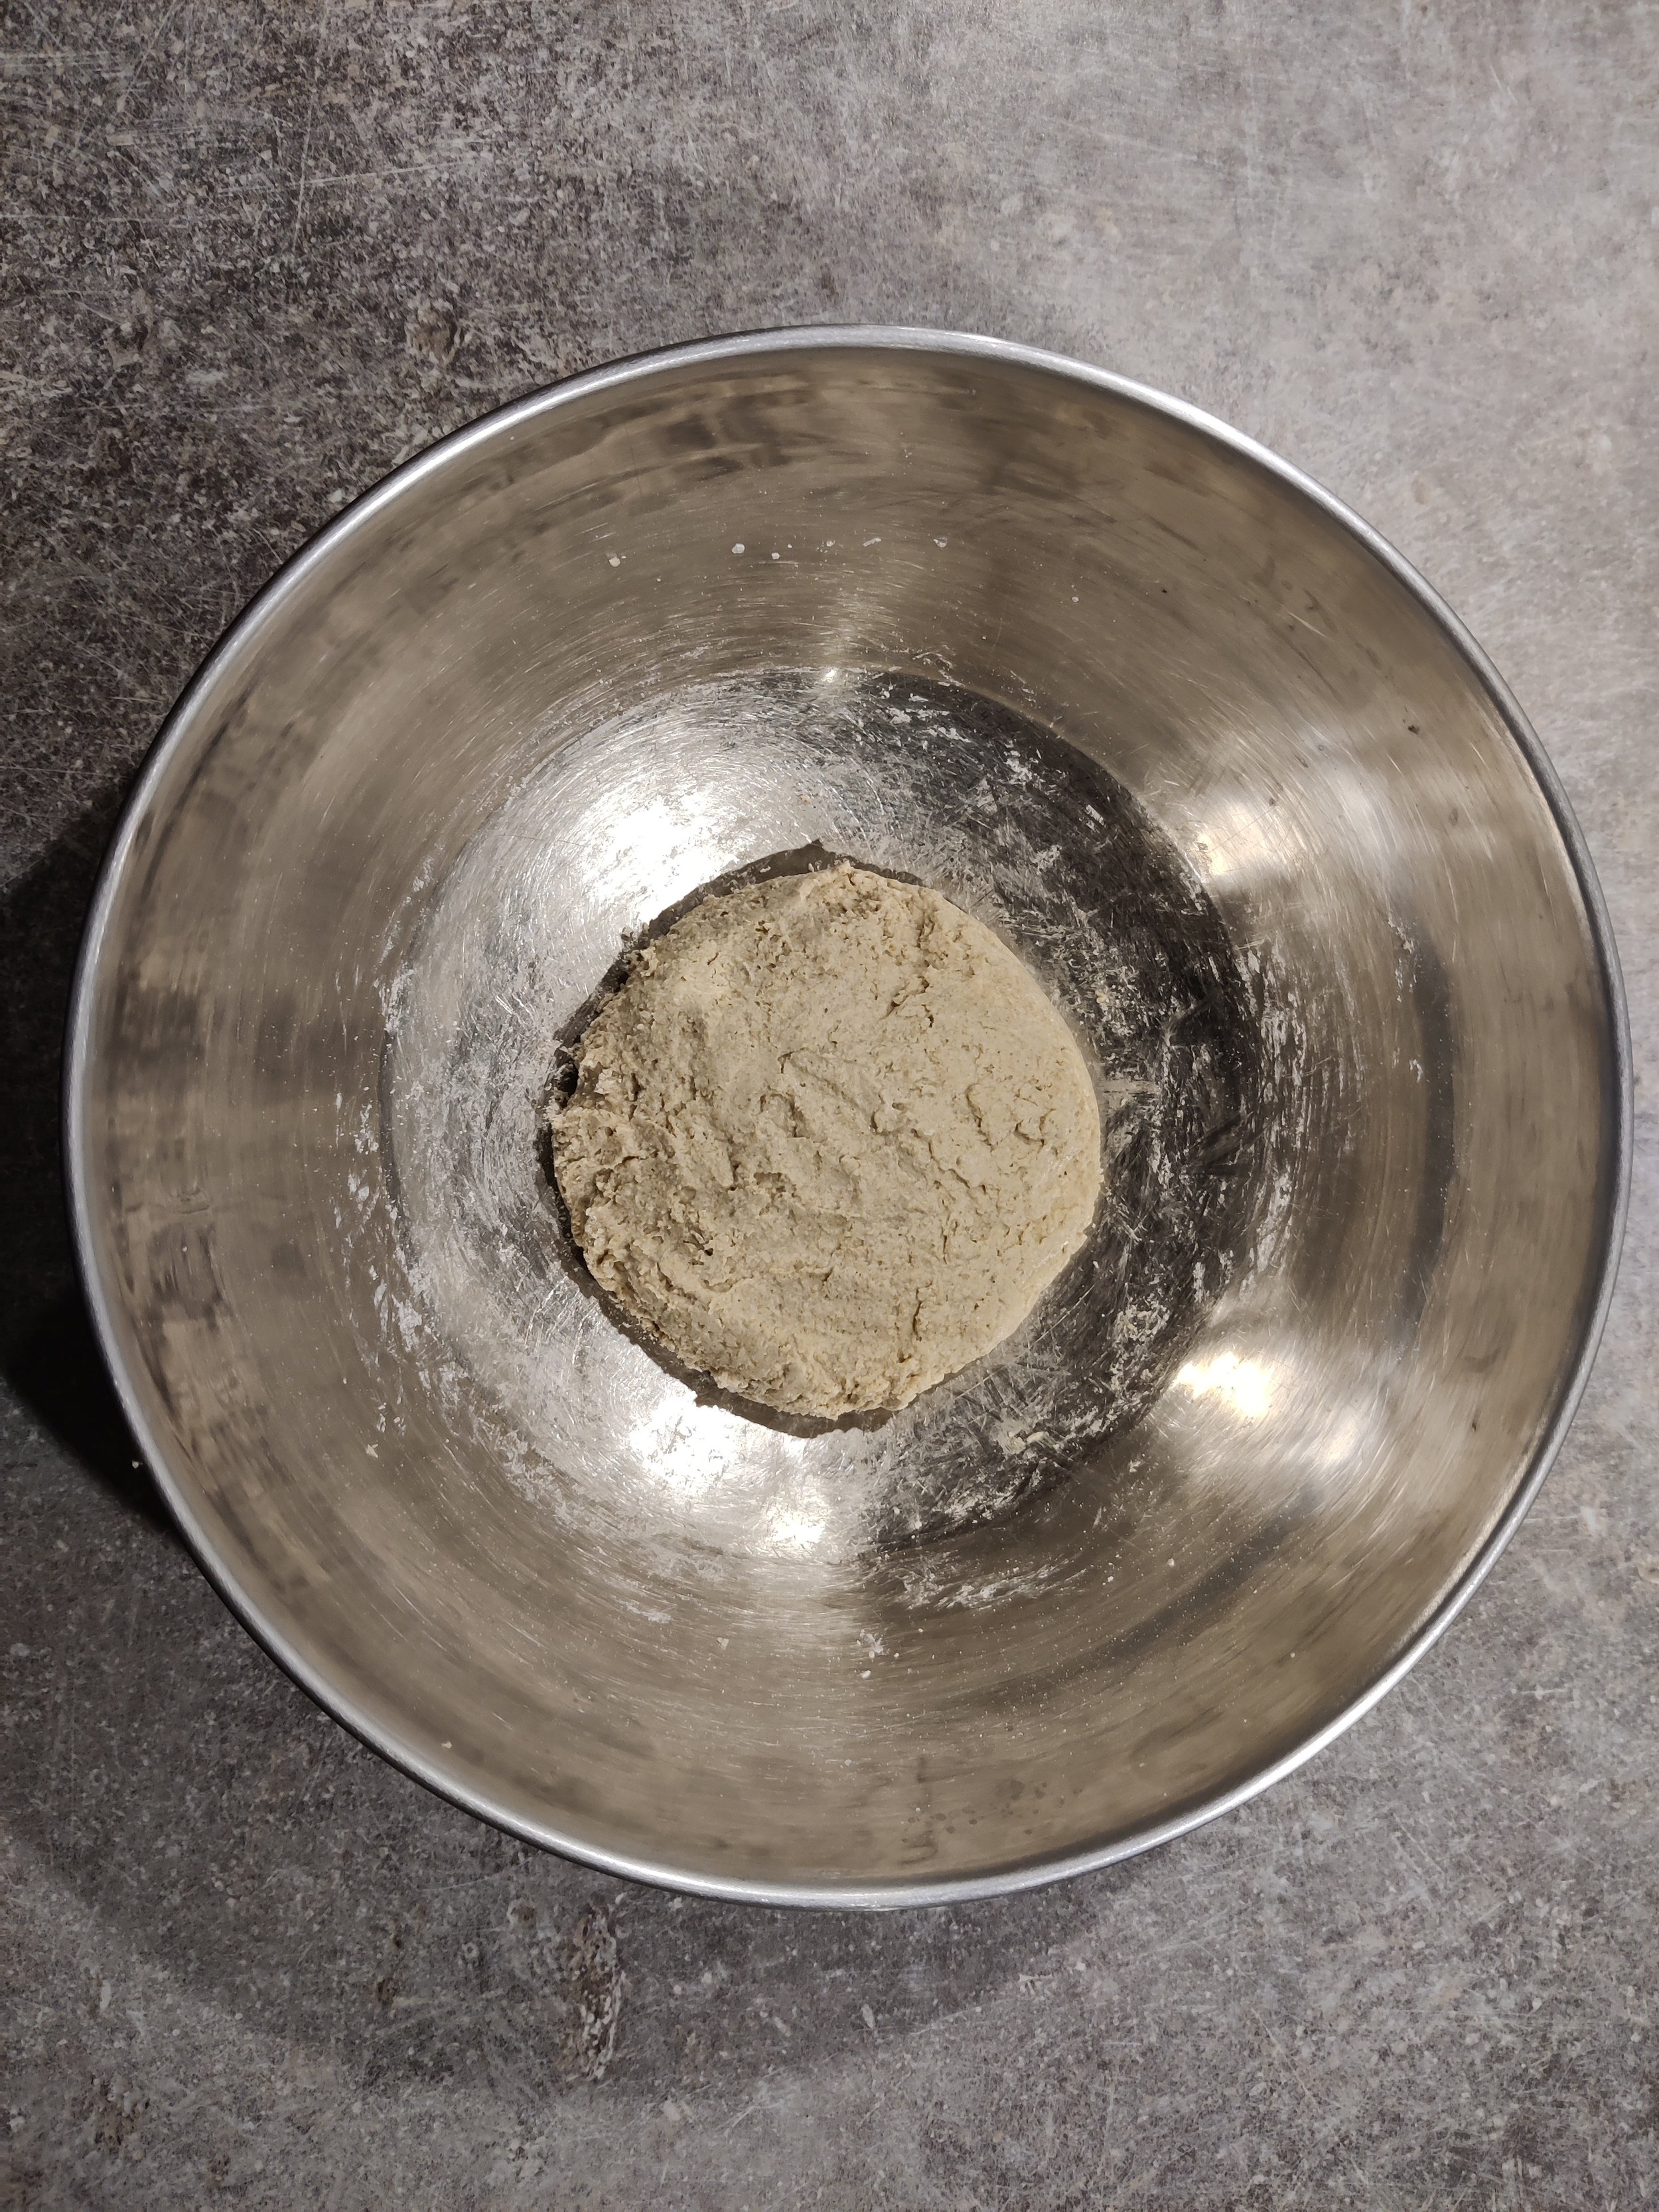
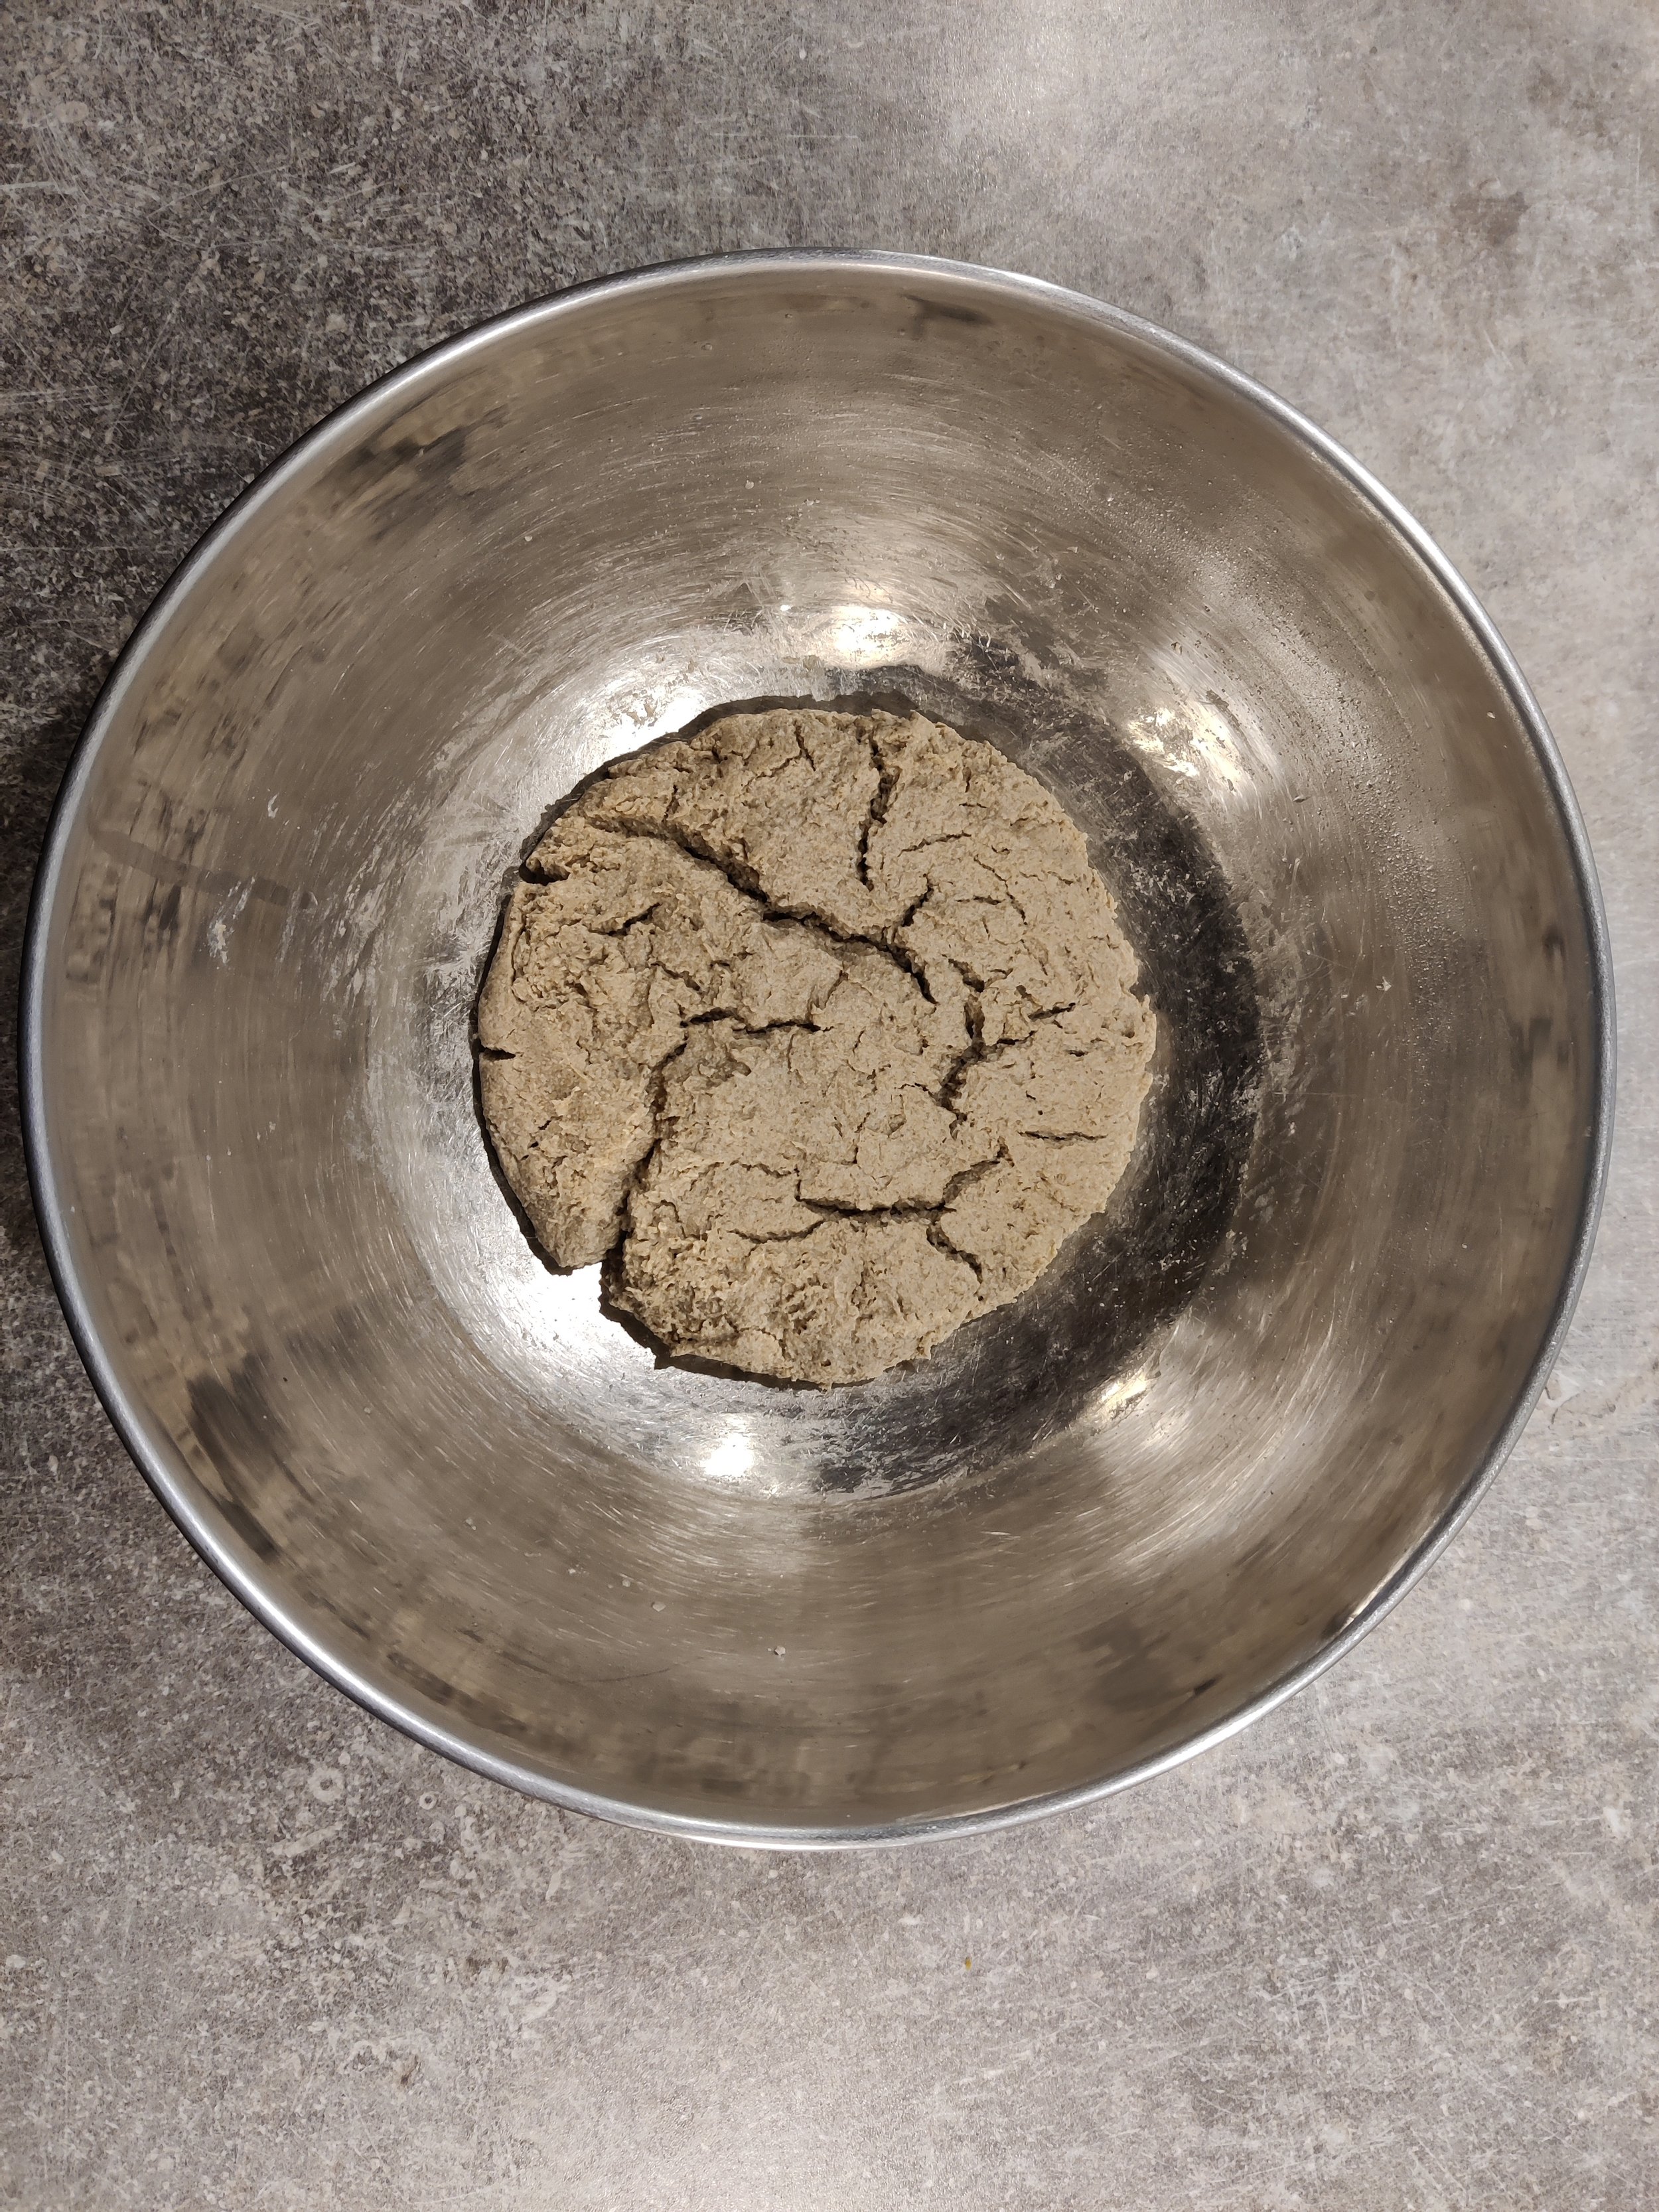
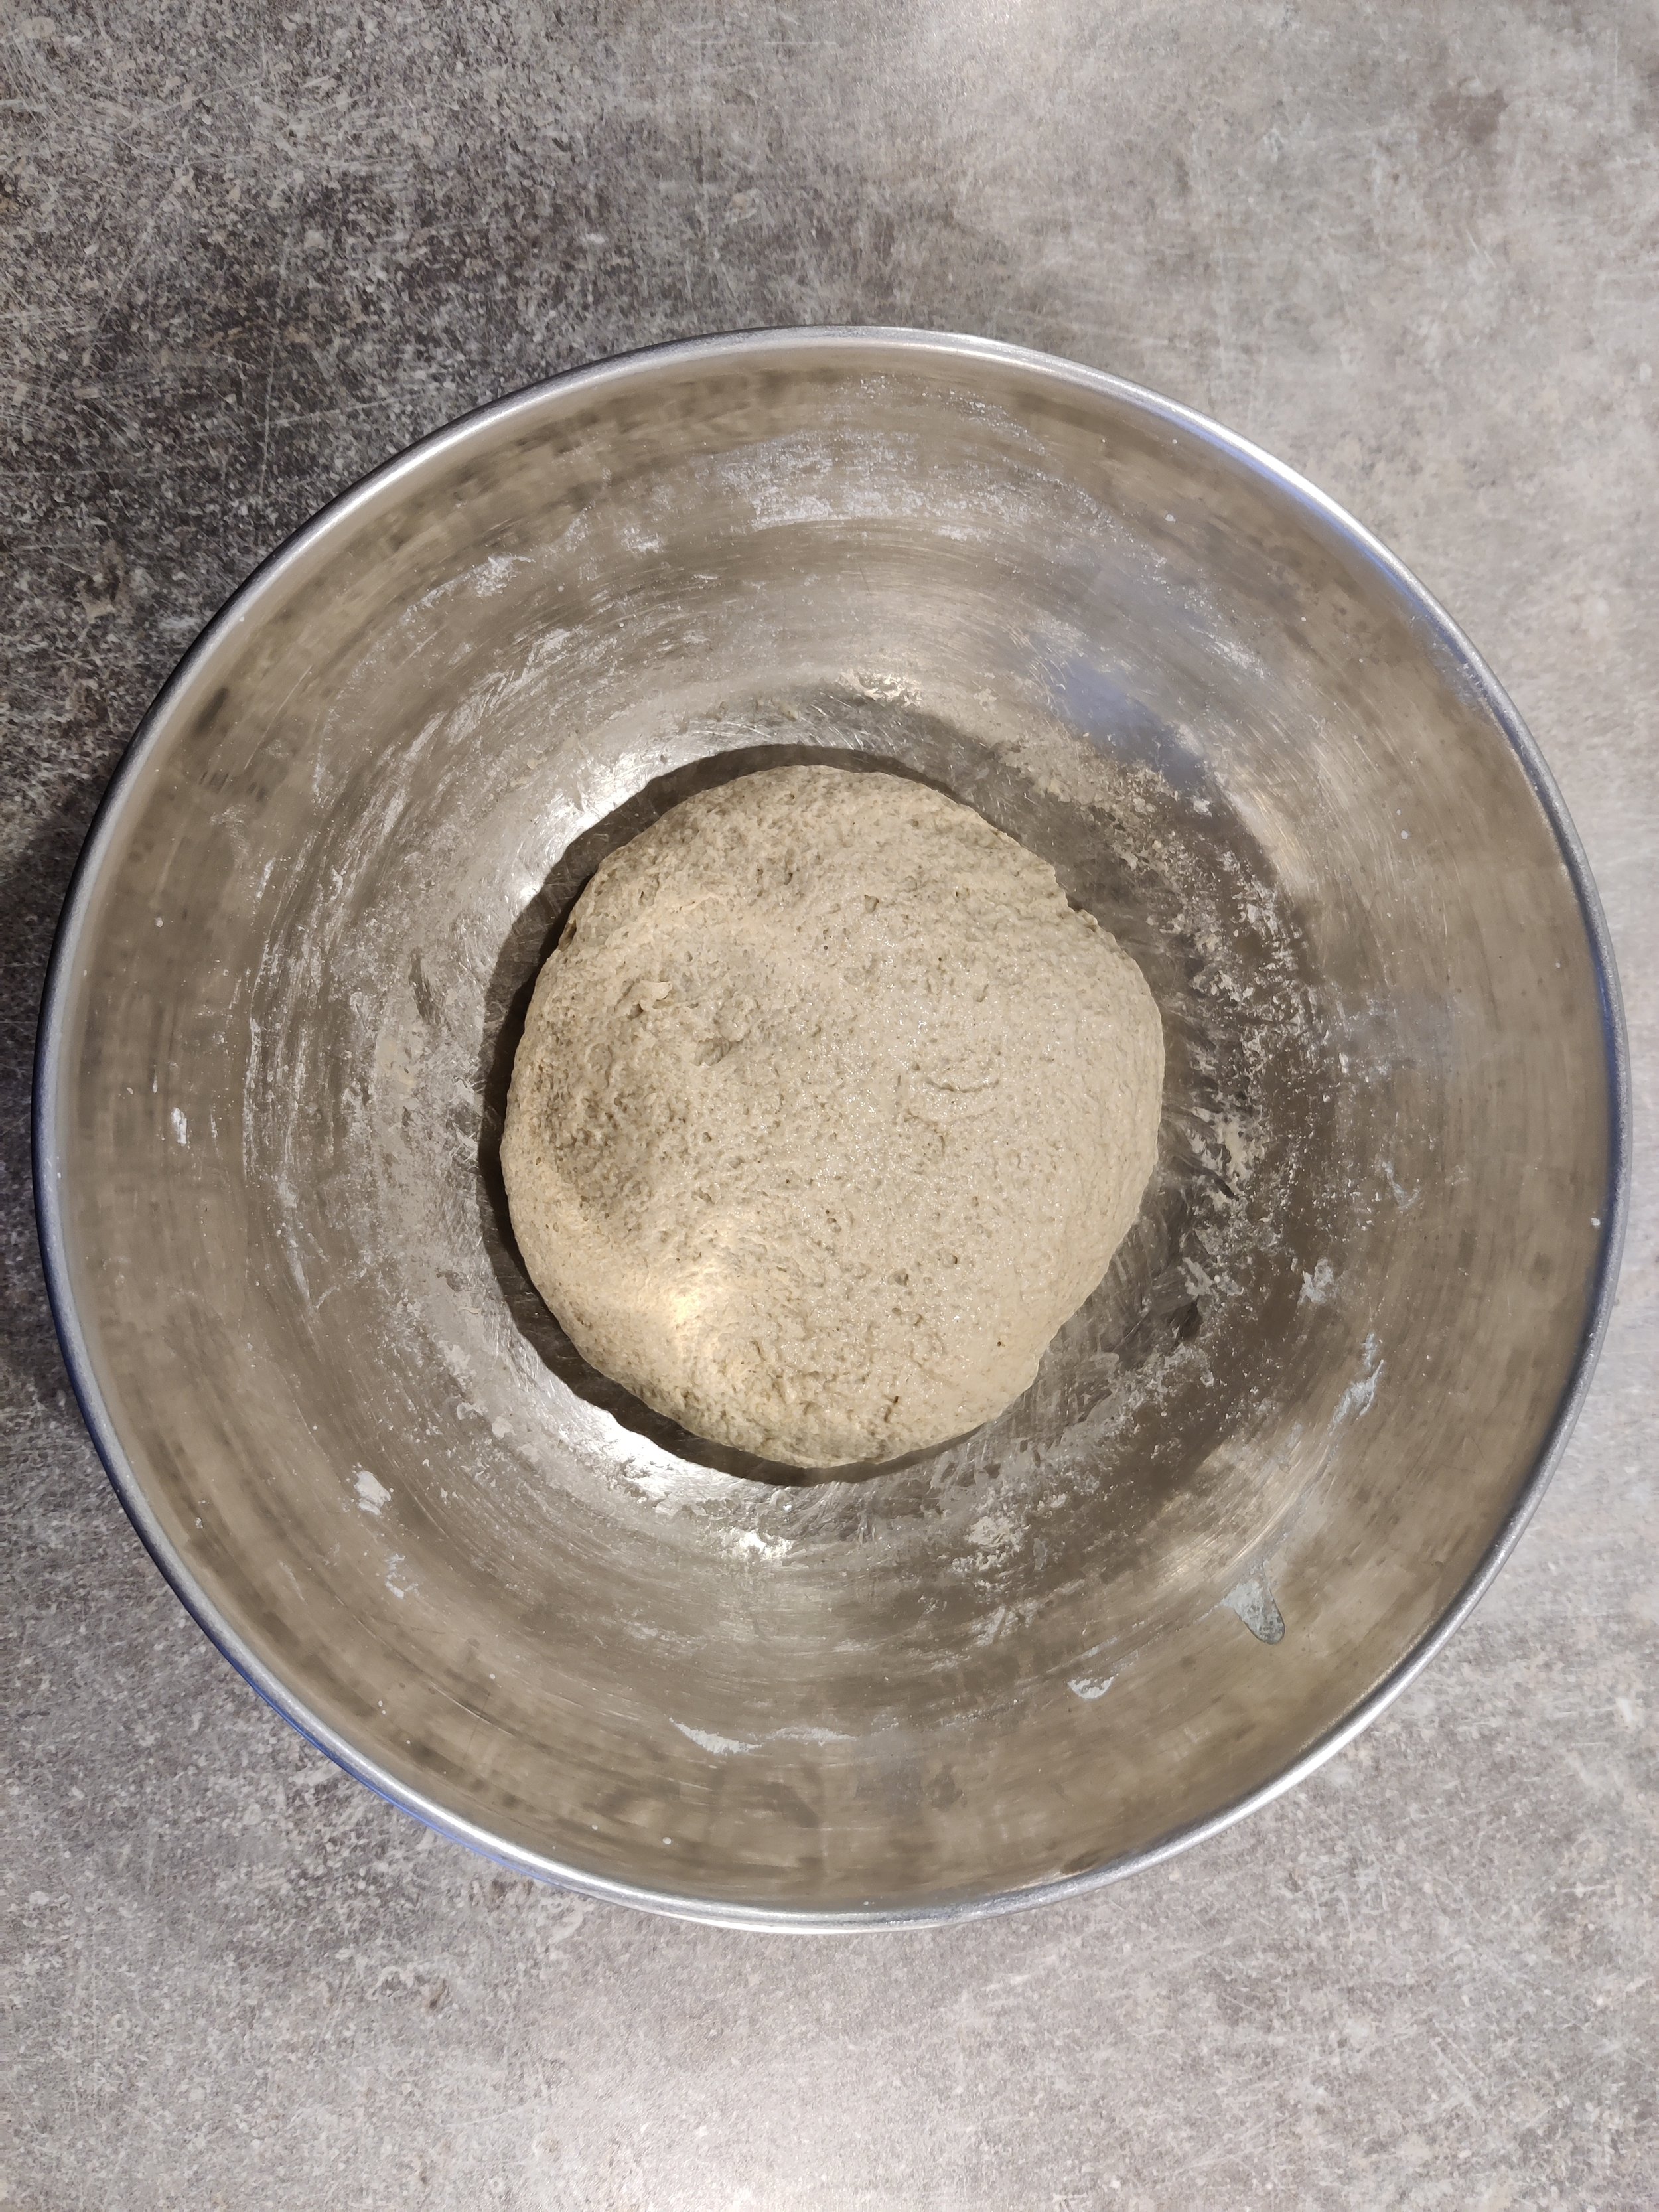
1- Start with the pre-ferment. In a large mixing bowl, dissolve 1/4th of a teaspoon of yeast into 250 grams of water then add all the barley flour. Mix well, cover and let ferment at room temperature for 12-16 hours. It should be well risen, showing cracks on the surface and have a pleasantly acidic aroma.
Barley pre-ferment
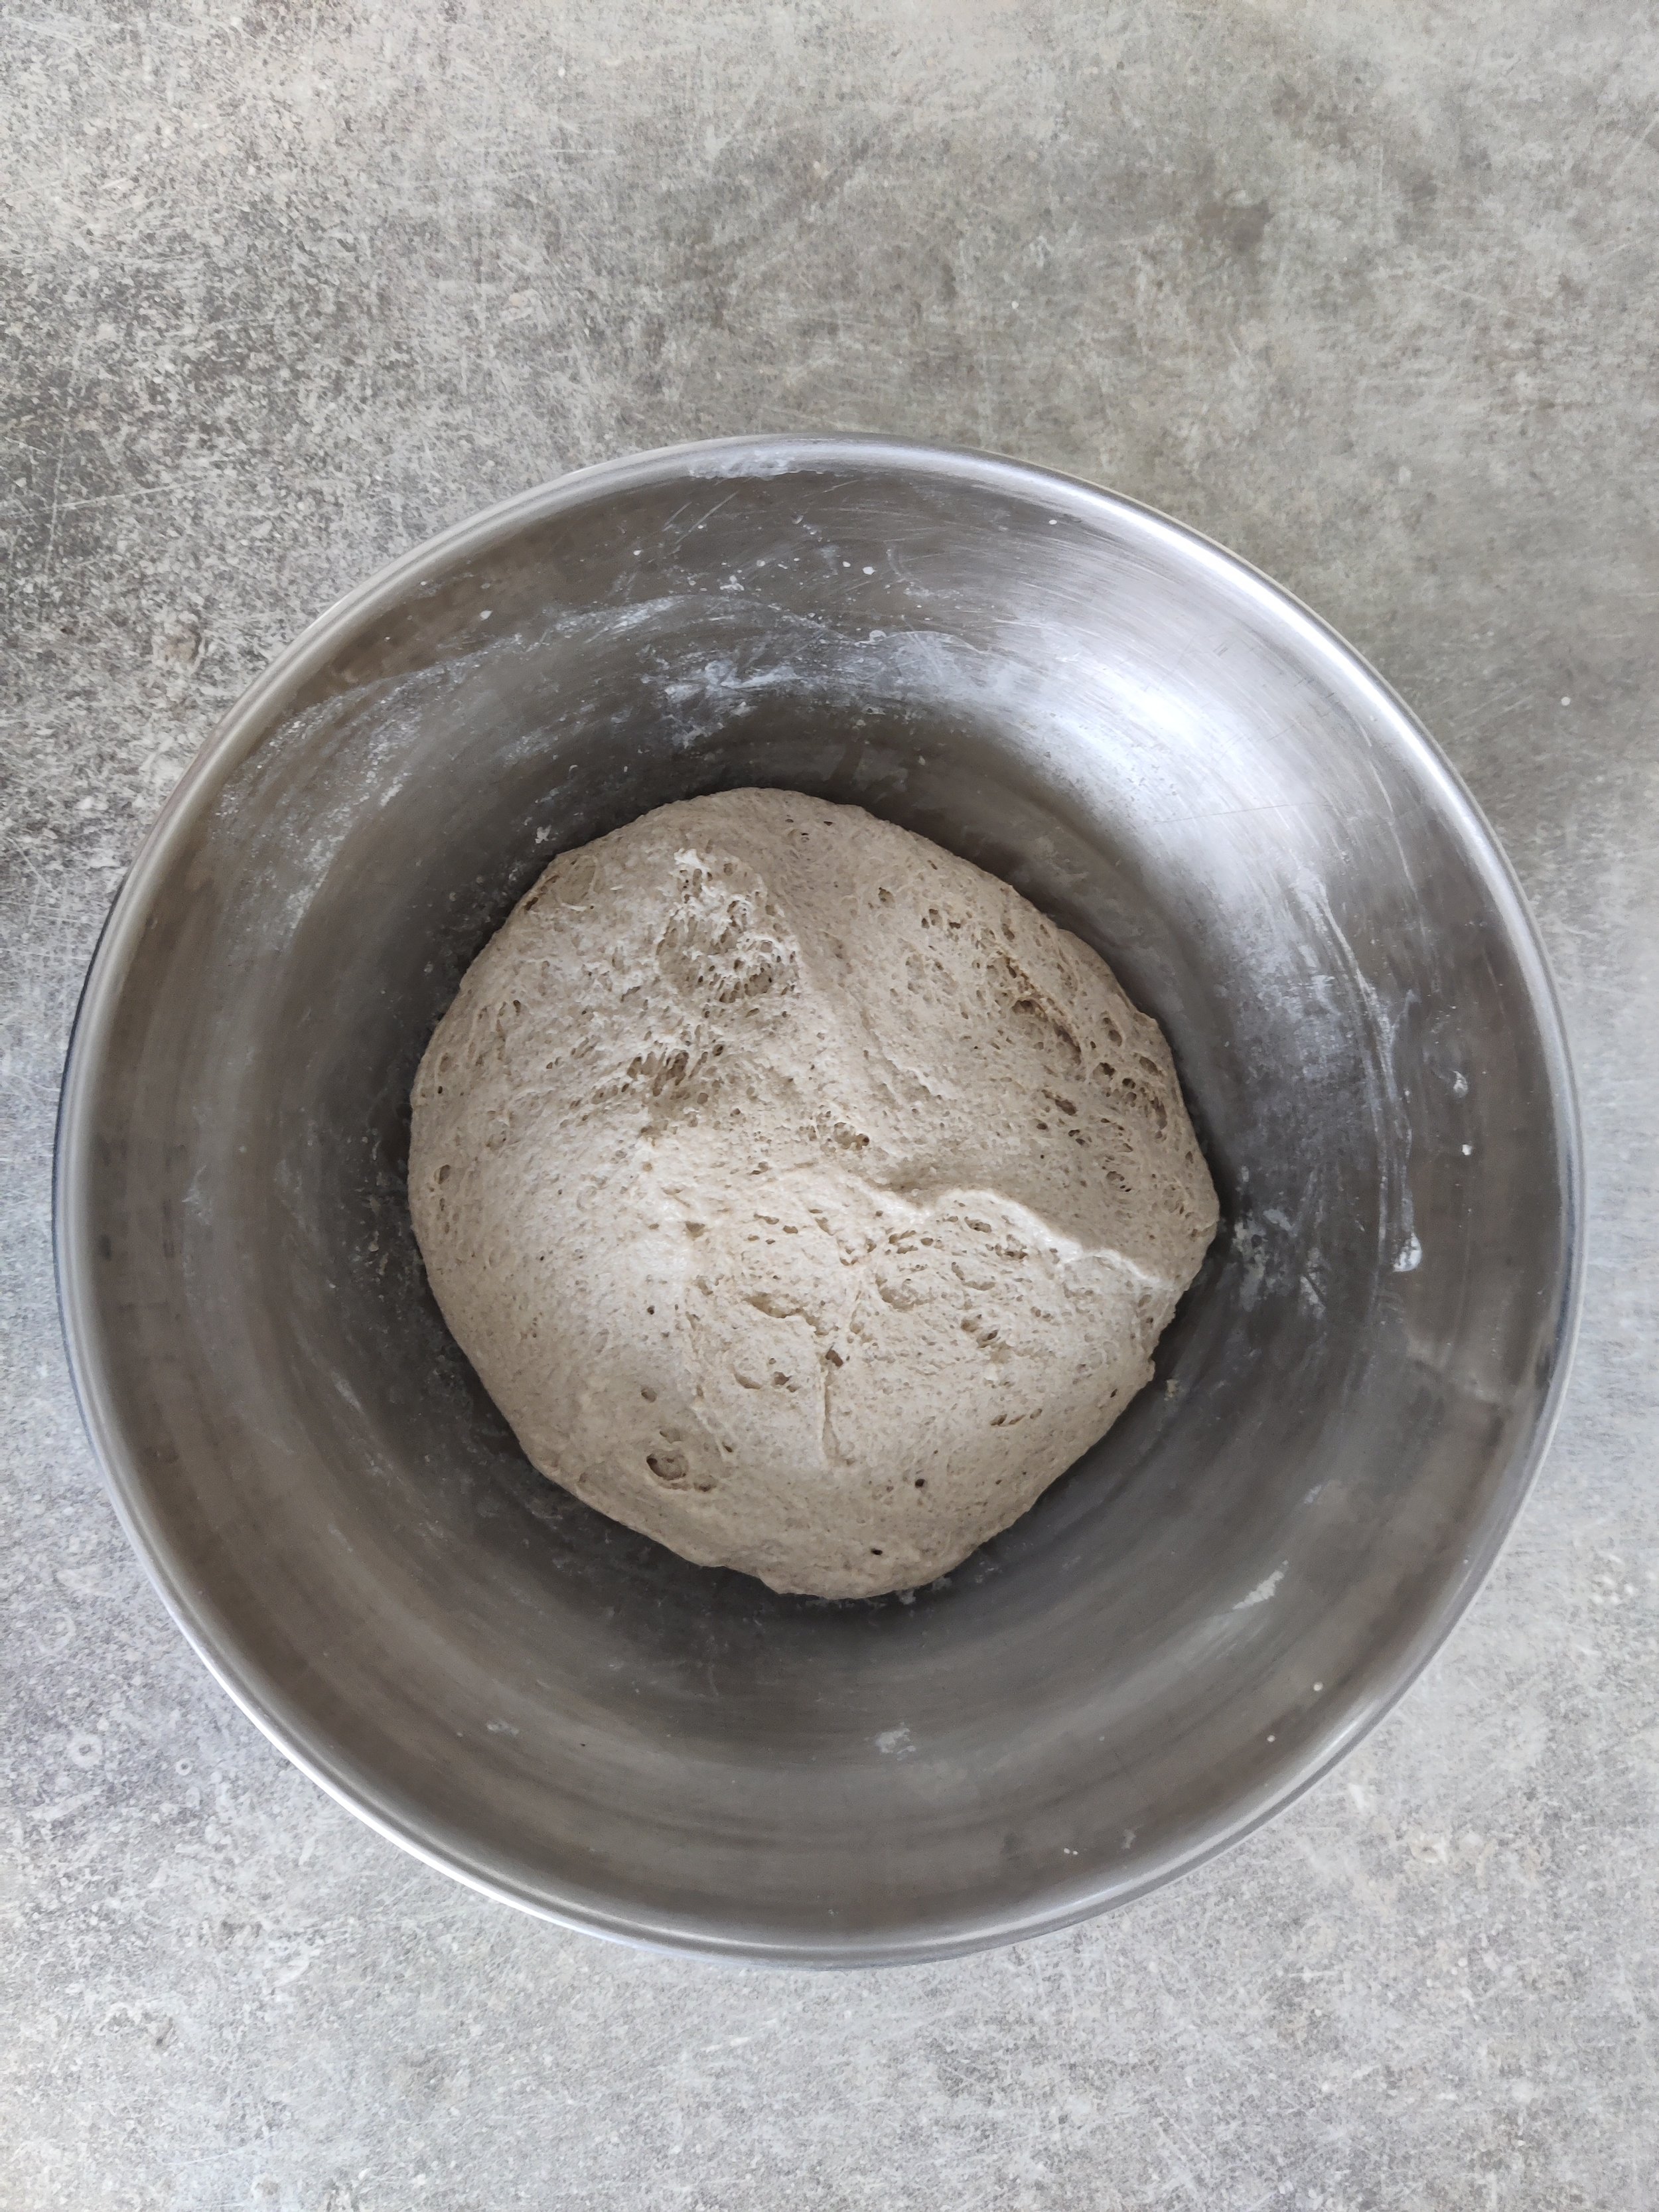
2- Add the remaining 100 grams of water to the pre-ferment to loosen it, then add the remaining 3/4 teaspoon of yeast, the salt and the sugar. Mix to dissolve then add the all-purpose flour. Mix well then knead for 5-10 minutes until the dough comes together and develops some strength, though it will never be as extensible as a pure wheat flour dough. Leave the dough to rise for about an hour and a half or until almost doubled in size.
3- Lightly dust your counter with flour and turn the dough out. Divide into six equal pieces, about 130-140 grams each.
Dough divided into six pieces
4- Preheat your oven to its highest temperature (mine got up to around 280 °C) and place a baking tray in the middle to get really hot. Meanwhile have another tray ready, upside down, lined with a sheet of parchment paper.
5- Roll out each piece using a rolling pin to a diameter of approximately 20 cm. Place three rolled out pieces together on the parchment-lined sheet tray and cover with a towel for 10-15 minutes.
Rolled pieces placed on parchment paper on an upside down tray
6- Carefully slide the parchment paper onto the hot tray in the oven and bake for four to five minutes, or until the bread puffs up and is lightly browned on top. Repeat with the remaining three pieces.
Barley bread finished


