

The Breads of Egypt: Eish Shamsi - عيش شمسي

Back in 2015, the BBC released a series called A Cook Abroad where you watch six cooks travel to six different countries and learn about the food. The first episode featured Dave Myers’ trip to Egypt. Aside from the regular tourist traps he’s shown falling for, the Lancashire-born Hairy Biker meets chef Moustafa Elrefaey in Cairo and visits a unique tomb across the Nile in Luxor where a type of bread is depicted as part of an offering to the gods. That is what we called eish shamsi (عيش شمسي).
Eish shamsi literally means sun bread and it is probably Egypt’s longest continually baked bread, maybe even the oldest yeast-leavened bread in the world. It has been immortalized on temple walls, thousands of years old, with its simple disc shape and classical three or four cuts. The modern Arabic name comes from the ancient habit of leaving the pieces of dough to ferment uncovered in the hot Egyptian sun. This habit is still staunchly followed by bakers in Upper Egypt, with most of them insisting the dough must be left to ferment out in the sun, otherwise it’s not shamsi. The most traditional bakers in Upper Egypt continue to bake shamsi on a weekly basis, usually on Thursdays, in clay ovens, fired by dry straw, corn husks among other things.

Eish shamsi baked in a traditional clay oven (Source: Egyptian Geographic)
In terms of the dough itself, it is a three-part process. Shamsi is traditionally made with a sourdough mixed with some flour and water from the day before and left to ferment until baking time. If you have an active sourdough then by all means use it. However, for the purposes of this recipe, a pre-ferment made with dried yeast is a suitable substitute. The second part, which is critical to the texture and shelf life is the hot water soaker or roux, known as ‘asida (عصيدة) in Arabic. This consists of a small portion of the overall flour for the recipe, cooked in boiling water. This causes the starch in the flour to gelatinize which allows it to absorb more water compared to un-gelatinized flour. This creates a softer finished loaf which remains soft for several days since it doesn’t dehydrate as quickly as any other regular bread. The third part is the rest of the dough.
Once the full dough is mixed and kneaded, it is left to ferment in bulk while covered. The dough is then divided and shaped into discs which are placed on top of lots of wheat bran and left uncovered while exposed to the heat of the sun to both hasten proofing and slightly dry out the exposed side. This drying is encouraged due to the unusually high hydration of this dough. After this rise, the dough is flipped upside down onto more wheat bran. The slightly dried side becomes the bottom of the loaf while the softer side, which is more exposed to the heat of the oven, allows for upwards expansion during baking.

Shamsi dough rising outside in the sun, honoring ancient traditions
In order to encourage a good rise in the oven, shamsi is scored on its side; either one cut all the way around or 3 to 4 cuts to create ears that open outwards. Baking time will vary depending on the size and how your oven performs but I found that 20 minutes at 220 degrees C yielded good results. Your target is a poofy, soft loaf with a light crust and a pleasantly toasty aroma from the wheat bran. It’s not easy to produce excellent shamsi at home but the result is worth it.

Eish shamsi cross section
As a final note on the traditions around shamsi, lots of people in Upper Egypt would bake in large quantities to produce dozens of loaves. Most of them would be consumed as they are, while some would be sliced thickly and put back into the oven at a lower temperature to toast them all the way through (think Italian crostini or Greek kritharokoula for a European example). These can be dipped into soups and stews or used to make fattah, a dish made by soaking dry bread in a rich stock, topped with meat, rice, tomato sauce, vinegar and garlic dressing and toasted bread.
Ingredients:
500 grams all-purpose flour
425 grams water
10 grams salt
1/8th + 1/2 teaspoon yeast
Wheat bran for dusting, up to 50 grams
Estimated time:
Mixing and kneading: 30 minutes, divided over three stages
Rising time: 12-16 overnight fermentation + 80 to 90 minutes for the full dough
Baking time: 20-25 minutes
Steps:
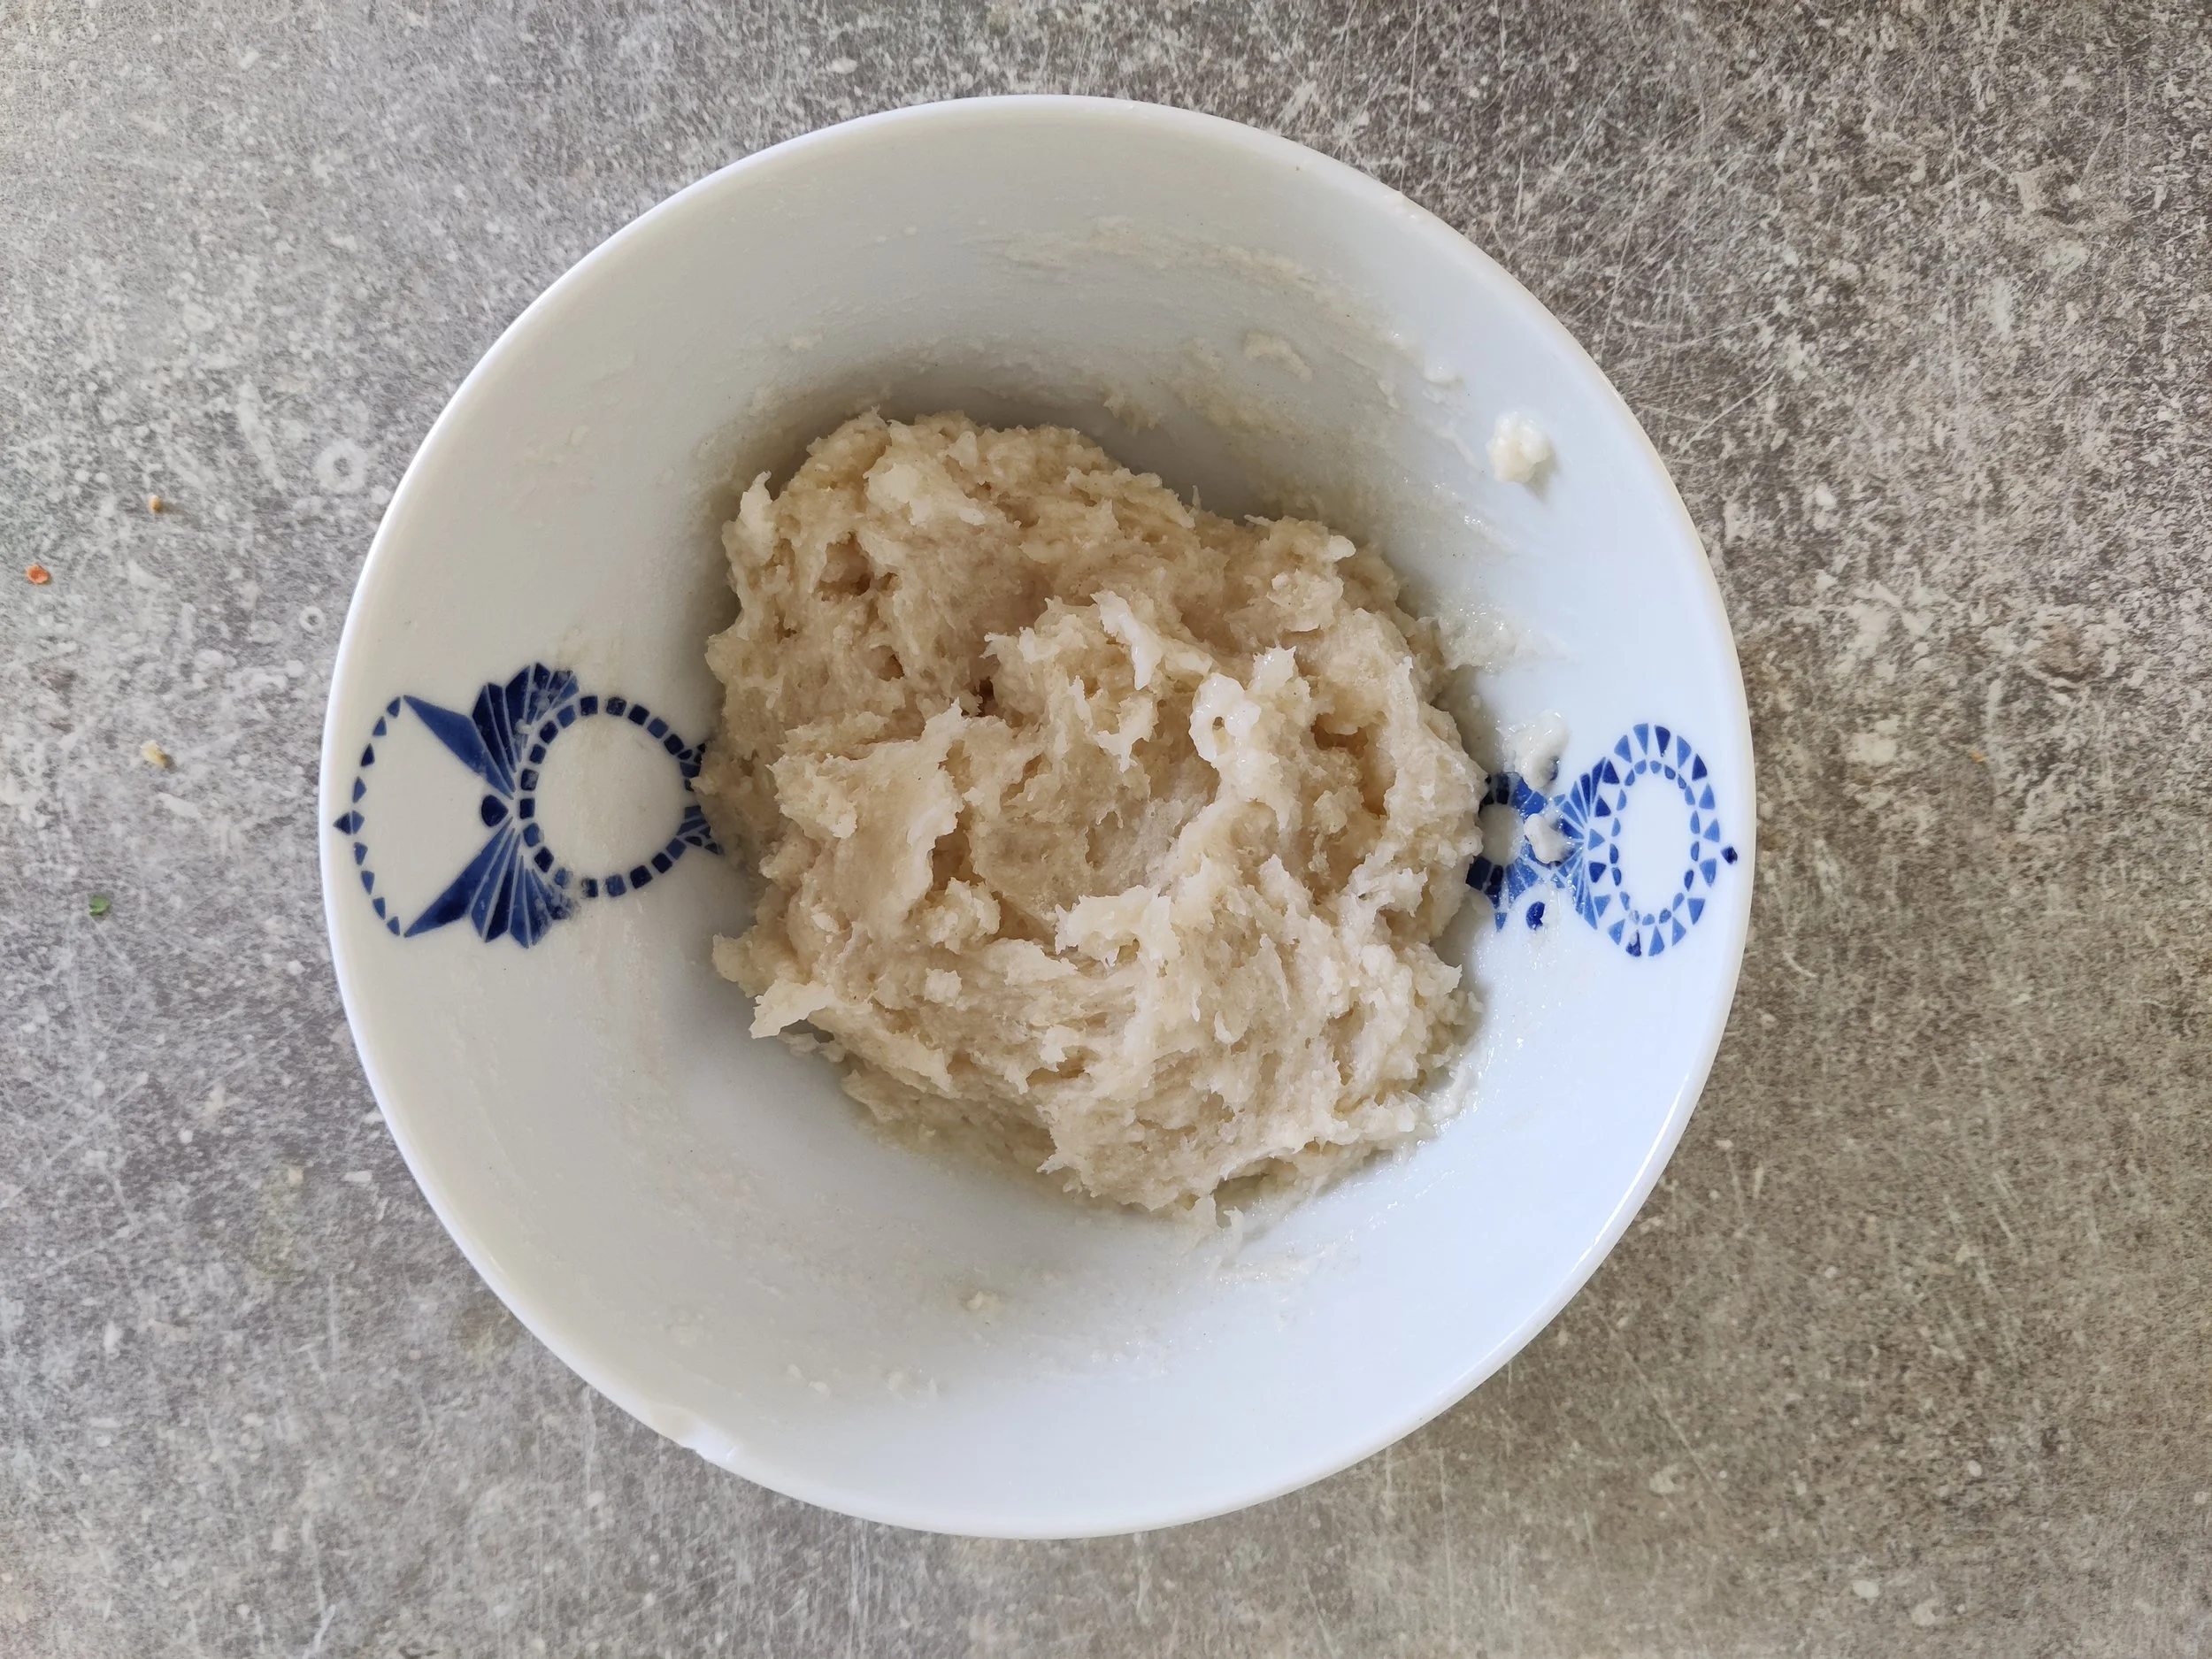
1- Start with the pre-ferment. In a large mixing bowl, dissolve 1/8th of a teaspoon of yeast into 100 grams of water then add 100 grams of flour. Mix well, cover and let ferment at room temperature for 12-16 hours.

Pre-ferment ready
2- The next day, Make the hot water soaker. Add 100 grams of flour to another mixing bowl then add 150 grams of boiling water. Mix well then cover and set aside to cool down to room temperature.
Hot water soaker (‘asida)
3- Add 175 grams of water to the pre-ferment to loosen it, then gradually add the cooled soaker in pieces and mix well until incorporated. Then add the rest of the yeast (1/2 teaspoon), the remaining 300 grams of flour and the 10 grams of salt. Mix well then knead for 5-10 minutes until well developed. Leave the dough to rise for an hour or until almost doubled in size.

4- Dust a tray liberally with wheat bran then divide the dough into two equal pieces, 450-470 grams each, and shape each piece into a thick disc, around 20 cm in diameter. Place them uncovered onto the wheat bran. The dough can be exposed to the sun as shown above if you like. Leave the dough to rise for 20-30 minutes. The top side of the dough will start to slightly dry out.

Uncovered dough pieces rising on wheat bran
5- Pre-heat your oven on to 220 degrees C. Meanwhile, line a baking tray with parchment paper and dust it with wheat bran.
6- After the dough has risen, flour your hands and gently flip the dough upside down onto the parchment-lined tray.

Dough flipped onto baking tray
7- Gently press the risen dough down by hand so it keeps the thick disc shape. Score each piece using a sharp razor or the tip of a knife by making one cut going all the way around.

Scoring
8- Transfer the tray into the middle of the oven and bake for 20-25 minutes or until nicely brown and the toasted wheat bran aroma fills the kitchen.

Eish shamsi done