

The Breads of Egypt: Fino - فينو

Across most Egyptian cities, you’ll find bakeries everywhere and they are labelled based on the kinds of baked goods they make. It’s either traditional loaves like Eish baladi in a “baladi” bakery or breads and baked goods with a western/European style in a “afrangi” bakery. The “afrangi” bakeries are home to many popular types of bread, chief amongst them is the soft and light ‘fino’ bread rolls. Fino is so ubiquitous in Egyptian households and is especially popular among school children due to its soft texture and structural sturdiness that allows it to survive in a school bag going through traffic and half a school day.

A typical ‘fino’ bakery - Metsho in Ismailia (Source: Ahlmasrnews.com)
The name fino in Egypt has a story behind it that goes back to the first half of the 20th century in Alexandria, particularly in an area called Al-Ibrahimiya, where a Greek baker said to have been named Fino opened a bakery and named it after himself, which still exists on the same street. The bakery made several types of breads and pastries but the biggest success became these soft sandwich rolls made with refined white flour and commercially produced yeast.

The Fino bakery in Alexandria (Source: Akhbarak.net)
Relying on commercial yeast, as opposed to natural yeast or sourdough, to raise enriched doughs is actually an older process which wasn’t invented by Fino. It was developed by Austrian bakers in the 1850s and 60s who showcased it at the Paris International Exposition in 1867 where the method took on the French name “pain Viennois”. This style of bread was referred to by pioneering Egyptian cookery writers Nazira Nicola, also known as Abla Nazira, and Baheya Othman as Vienna bread (خبز فيينا) and is likely how a Greek baker got the name fino for his bakery.
While the history and etymology of these things are fascinating, it’s probably better to discuss how this bread is actually made. As previously mentioned, this bread is made with an enriched dough, which is a dough that includes additional fat and sugar. I’ve found in my testing that the combination of milk, butter and sugar created a weak dough and a bread that was very soft but also very cake-like; not exactly what I was after. I tried adding an egg to the dough to increase richness which aided gluten formation but the egg smell in the baked loaves was rather off-putting.
After a few permutations, I’ve landed on a mixture of milk and water with sugar and oil. I’ve also found that mixing and kneading until the gluten is well developed and then adding the oil maintains the strength of the dough while adding the richness needed in a bread like this. To make the kneading process easier, I recommend mixing the dough in a food processor if that’s available to you. The rapid movement of the blade brings the dough together and kneads it within about three minutes.
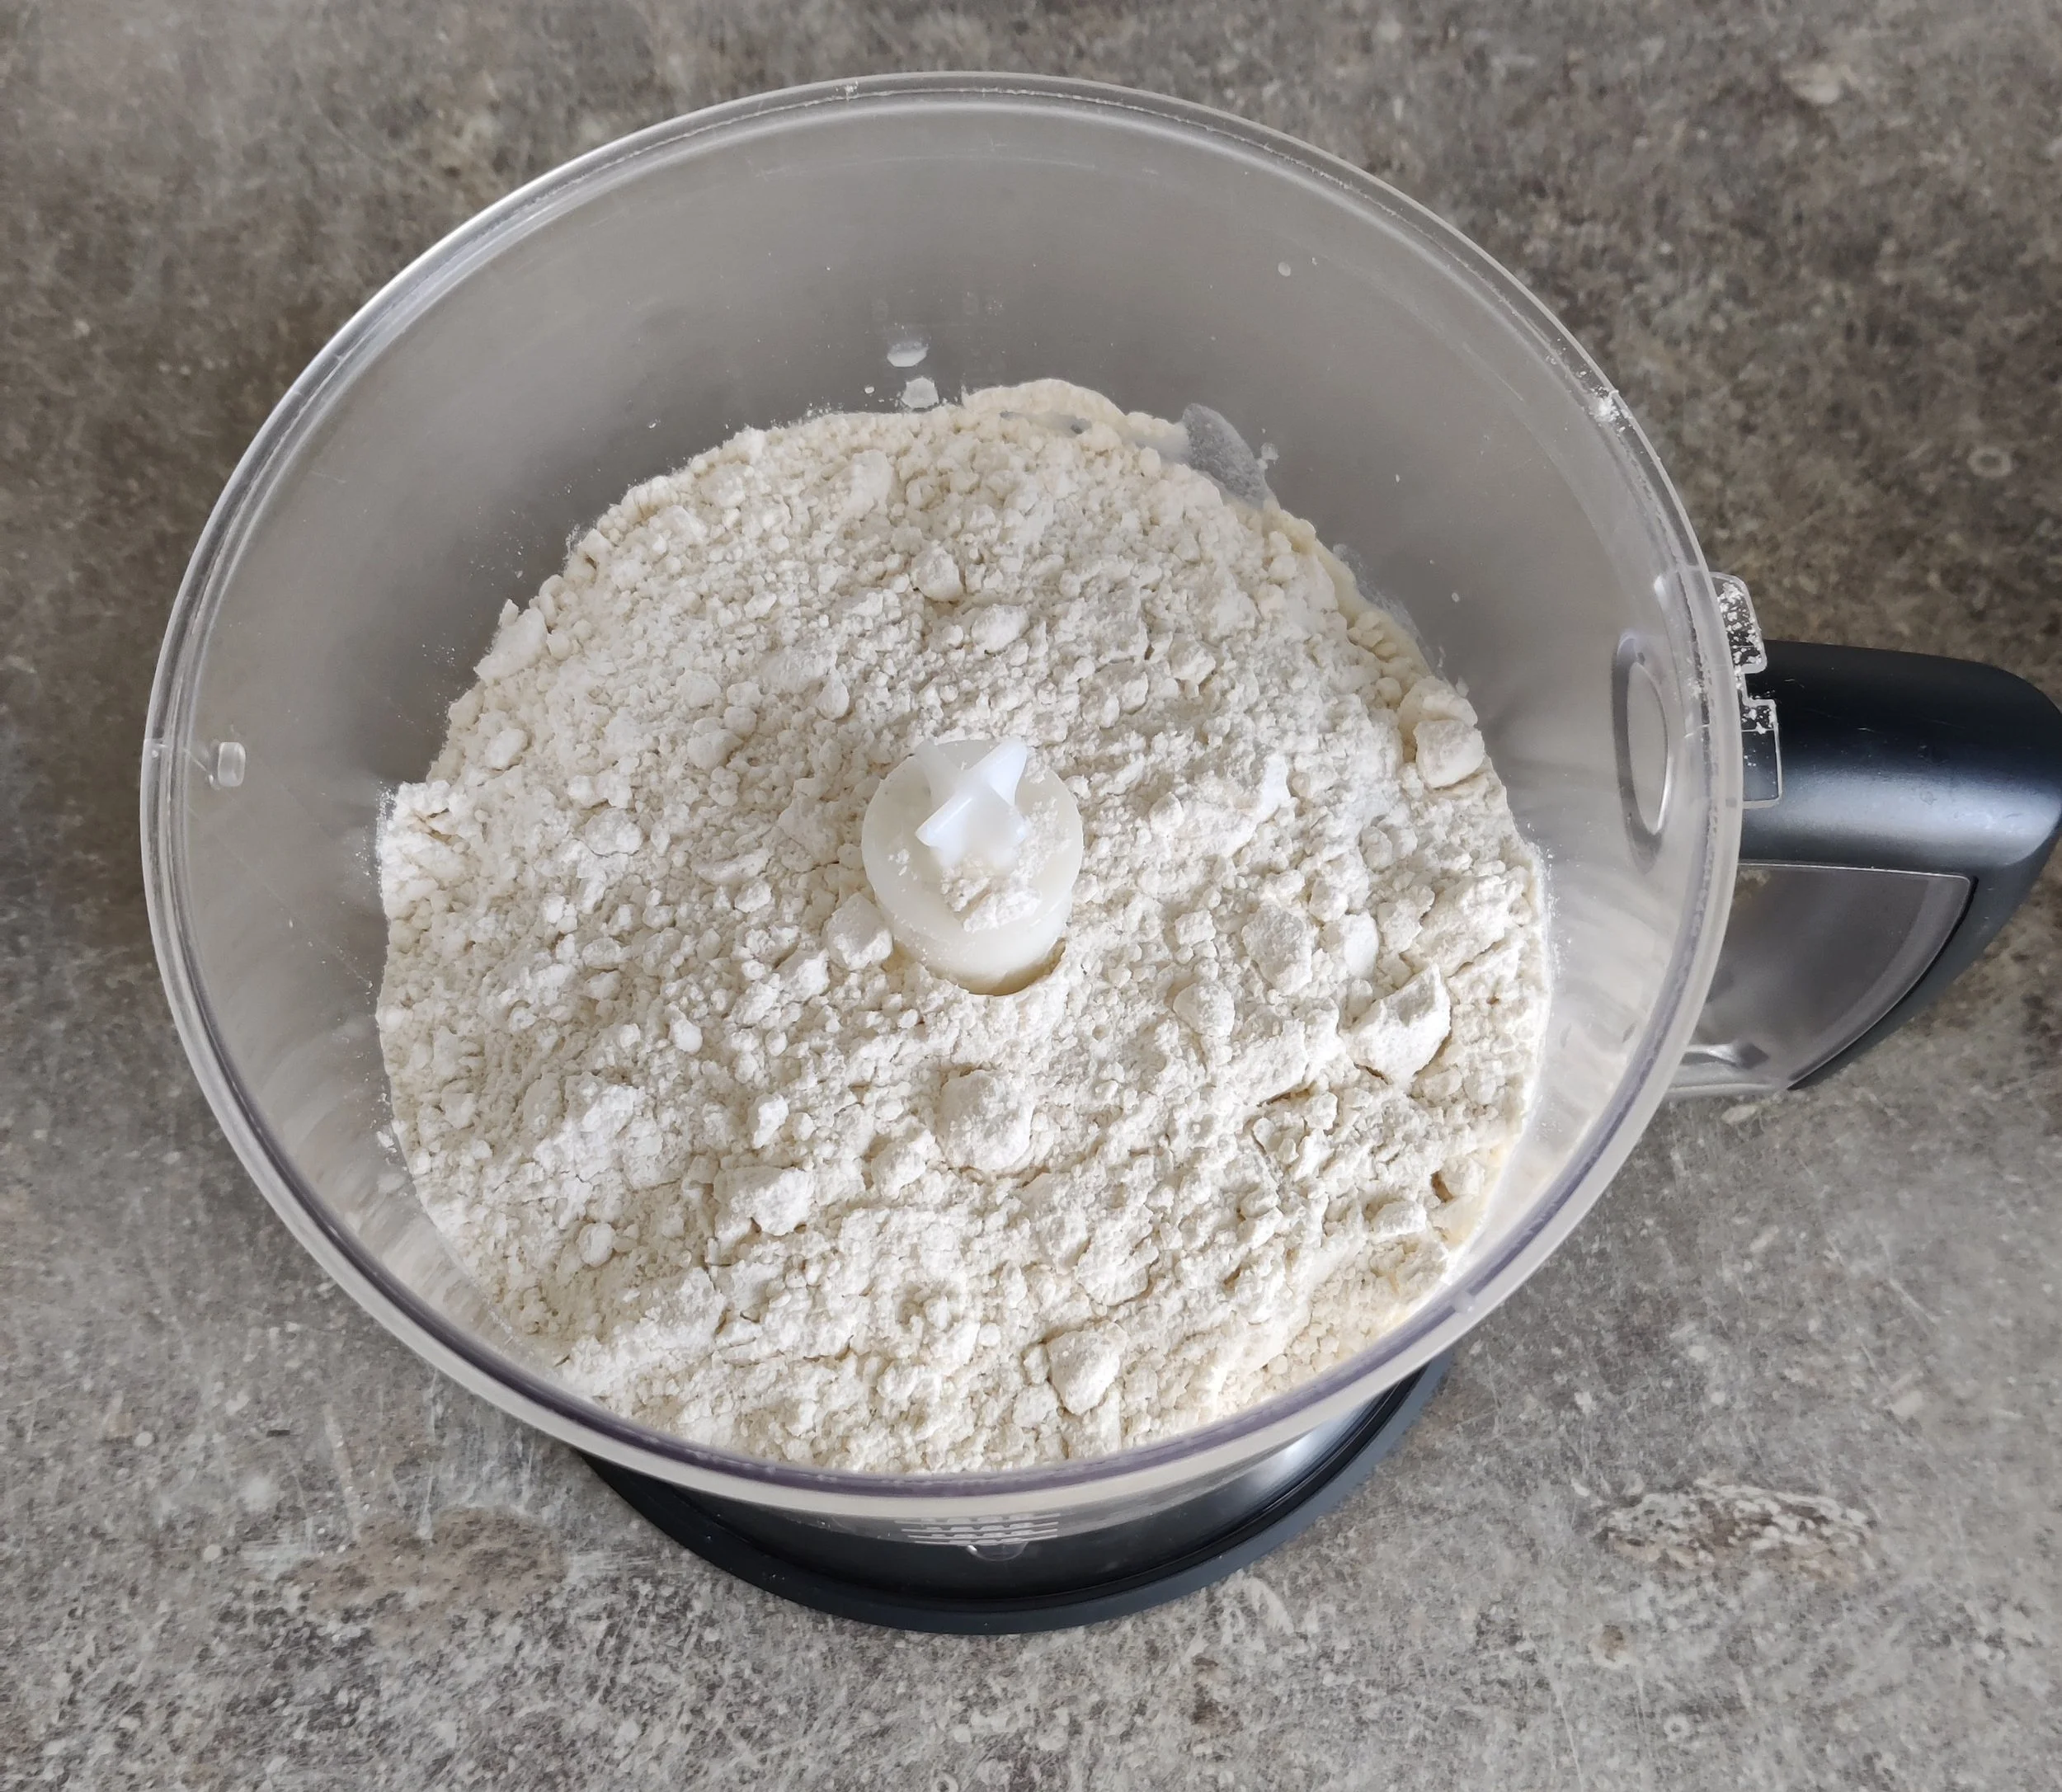
Ingredients added to the food processor
Whether you choose to mix your dough in the food processor, in a mixer or by hand, make sure you mix everything without the oil and knead it thoroughly first before adding the oil and mixing it in. Adding oil (or any type of fat) in the beginning of mixing will limit the formation of a strong gluten network, which is not what we want for our fino rolls. Therefore it’s best to mix and knead without the oil to create a strong dough and then enrich it with oil to allow for a softer product after baking. Remember as well to cover the loaves after baking so they remain soft. A plastic or paper bag works well for this.
Ingredients:
500 grams all-purpose or bread flour
200 grams water
100 grams milk
20 grams sugar
5 grams salt
1 teaspoon yeast
25 grams oil (sunflower, canola, corn or any neutral oil)
Steps:
1- Add all the ingredients except the oil to a mixing bowl or food processor. Mix the dough and knead for about 10 minutes by hand or 2 minutes in the food processor until you have a smooth, strong and elastic dough.
2- Add the oil and mix it thoroughly into the dough. It will look like it’s not mixing at first but keep going until you don’t see the oil separate from the dough.
3- Put the dough in a large clean bowl, cover it and allow it to rise at room temperature for about 90 minutes or until almost doubled in size.

The dough should rise to almost twice the size. How quickly it rises depends on the temperature in your kitchen and the temperature of the water and milk used.
4- Divide the risen dough into ten equal pieces, weighing around 80-85 grams each. Cover them and allow them to rest for about ten minutes before shaping.

Dough divided into ten equal pieces
5- Lightly dust your work surface with flour. Take one piece and shape it into a cylinder as shown in the picture below. Start by pressing out the piece into a rough rectangular shape (1). Start rolling the upper side of the rectangle towards you (2). Keep rolling towards you until you achieve a cylindrical shape with a seam facing upwards (3). Turn the piece of dough upside down so that the seam is facing downwards (4). Repeat with the remaining pieces.

How to shape fino dough
6- Place the shaped pieces, seam side down, on a baking tray lined with baking (parchment) paper and allow to rise for half an hour. Preheat your oven to 220 degrees C while the pieces are rising.

Final rise while the oven heats up
7- Place the baking tray in the middle of oven and bake at 220 degrees C for 15-18 minutes, depending on how light or dark you like them. Cover the fino while still warm or make your favourite sandwich right away and enjoy.

Fino rolls done!